Quickstart
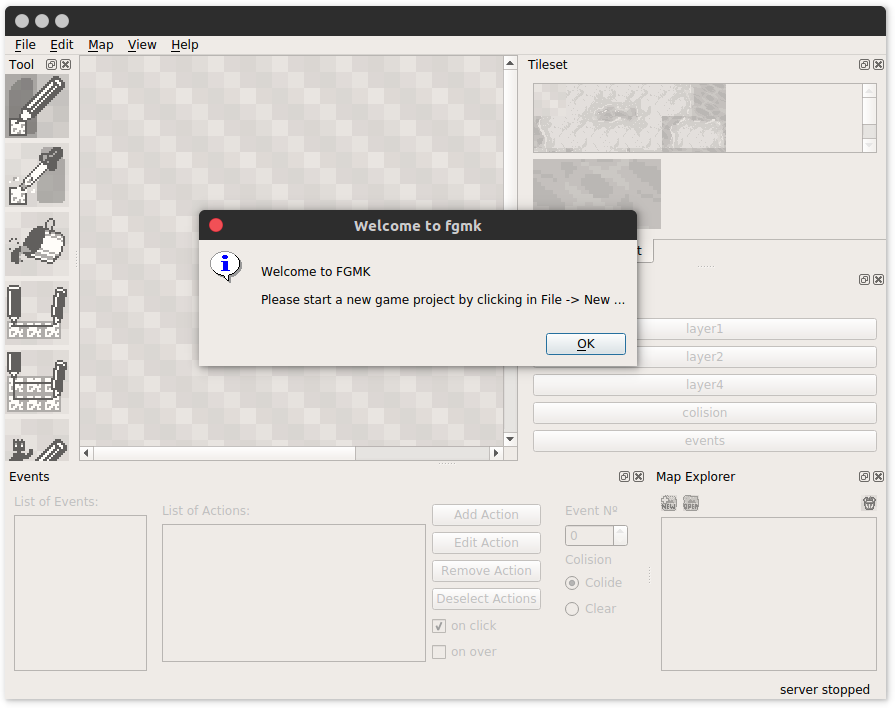
If you successfully installed and loaded the Editor, you should have a screen like the one above presented to you! Let’s make a new project.
By clicking in the File, then New, you will need to provide a place where you will keep your projects, and the name of the specific project (the game) you are building.
Let’s create an additional map, this will be the outside of this house.
 Click New in the Map Explorer. You can also use the menu and
select
Click New in the Map Explorer. You can also use the menu and
select Map -> New Map....
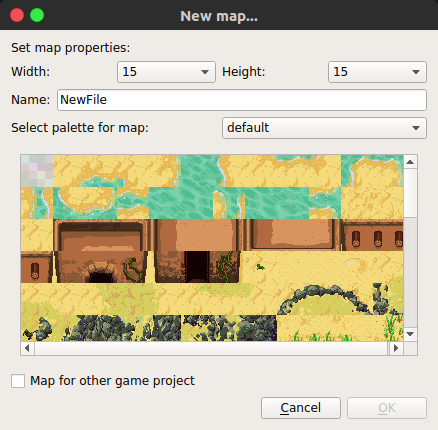
From here, you can select the map size, change it’s palette, or change
it’s name. Let’s change the name from NewFile to Outside. After
changing to Outside, click Ok.
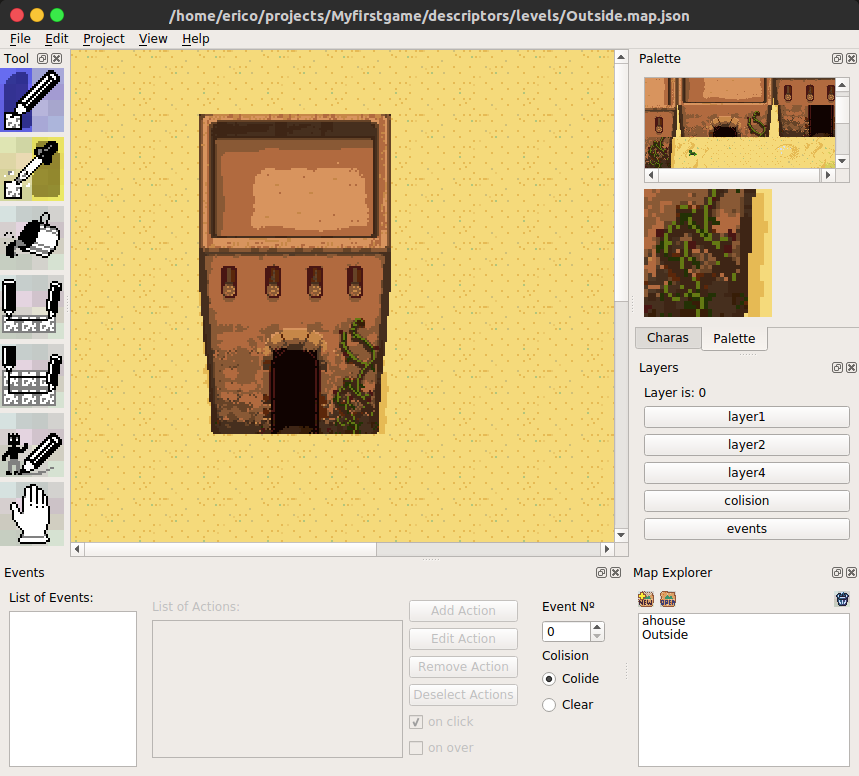
We the Outside map open, select the tiles in the Palette on the right and use the pen tool from the Tools dock to draw in the map. We are going to draw the outside of the house.
 the pen tool
When you are done, just save.
Don’t worry, if you forget, you will be presented with an option to save if it’s needed.
Now, in the Map Explorer, double click in ahouse. If it asks if you want to save, click yes.
The house map will be loaded again. Notice in the Events dock, there
is a field called Event Nº. Click on the up arrow button until the
number 2 is selected, or just type 2. Now, with the pen tool
again, click in the house in the place that looks like an entrance.
Now, in the List of Events, select the Event 002, the List of
Actions will be enabled.
Deselect the on click checkbox and select the on over checkbox. Click in Add Action, and select teleport.
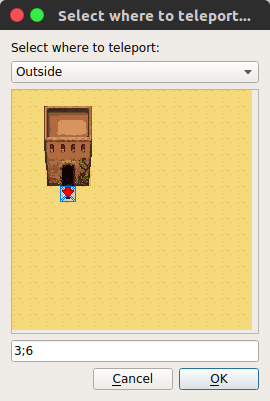
We are going to select the Outside and mark a place in front of the door. Click OK.
Ok, now we made a second map, and connected them using a teleport action. Let’s test. You can click Project->Save and Run Project or just press f5.
Hopefully, the current map will be saved and a browser will open, loading the map. Going out of the door should land you in front of the sand house.
In the future there will be more tutorials, but for now, you are free to explore the interface.